Internal Dynamo Hub Wire Routing
 I like using a strong steel rear rack for several reasons. The most important is strength and the ability to carry heavy loads for months at a time without having stress related failures. I have witnessed perfectly good looking alloy racks split and disintegrate under the continued stress of bounding along with 10 kilos of stuff swinging from each side. A rack also gives you a firm platform for mounting a tail light where it will not be covered up by shifting gear. One problem that I have had in the past with rear mounted dynohub tail lights is the wiring being cut or worn by shifting panniers. It seems no matter where I run the wires or how much tape I use for protection, eventually there is an electrical short due to abrasion. Another point of concern with regard to lighting, is the handlebar mounted headlight. This is a good place to mount a headlight to eliminate shadows from the front wheel often experienced with fork crown mounting. The problem with handlebar mounted headlights is how to route and strap the wiring where it is out of the way of your hands while riding.
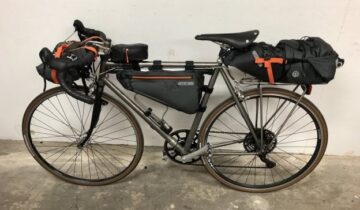
When on tour I often daydream of clever ways to improve the functionality of my bike but rarely have time to make these improvements until the tour is over. The following is the realization of one of my many daydreams which addresses the problems of dynohub light wiring.
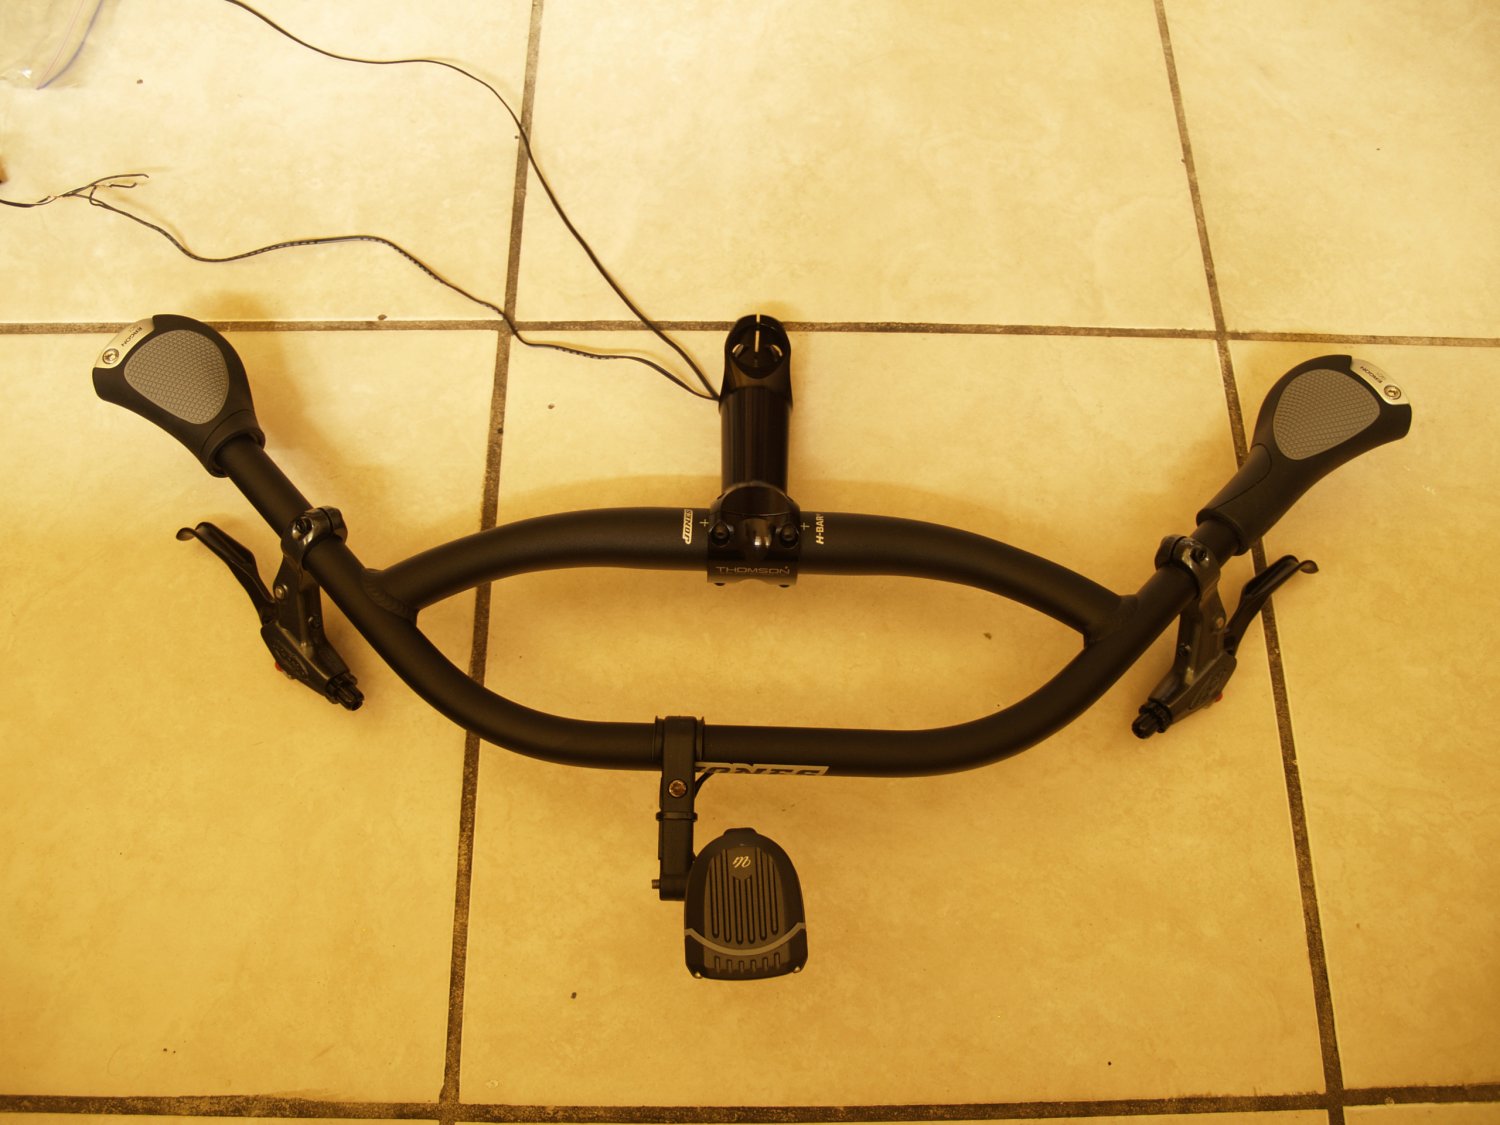
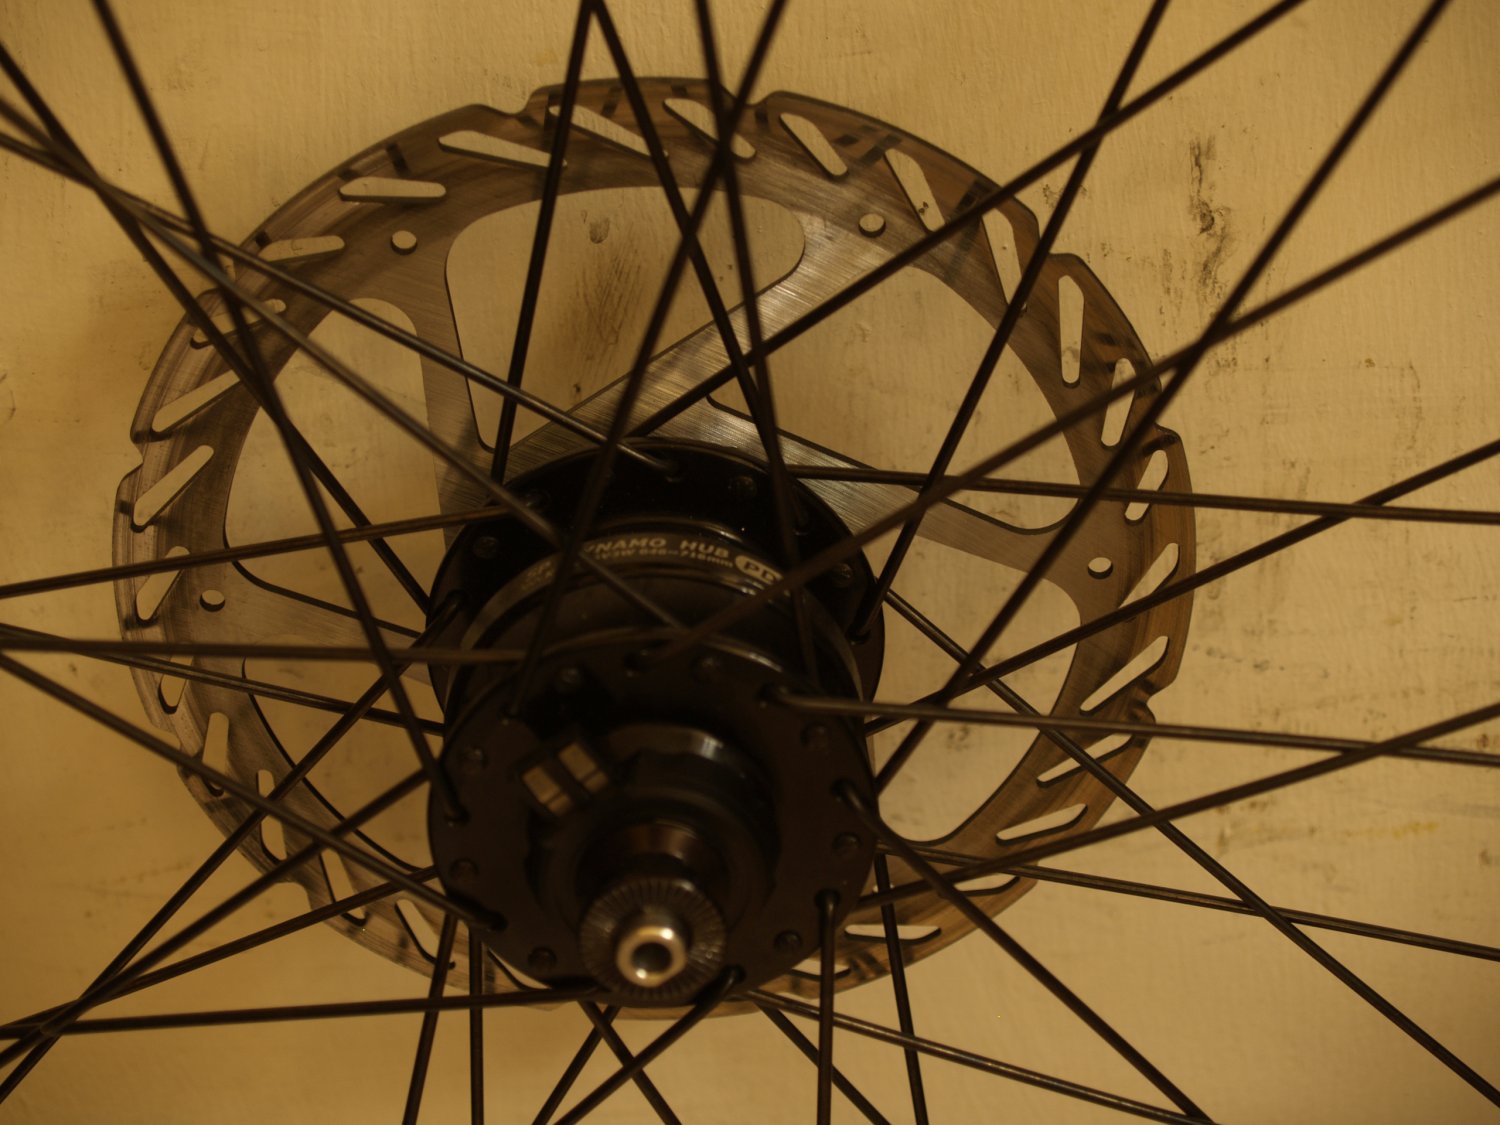
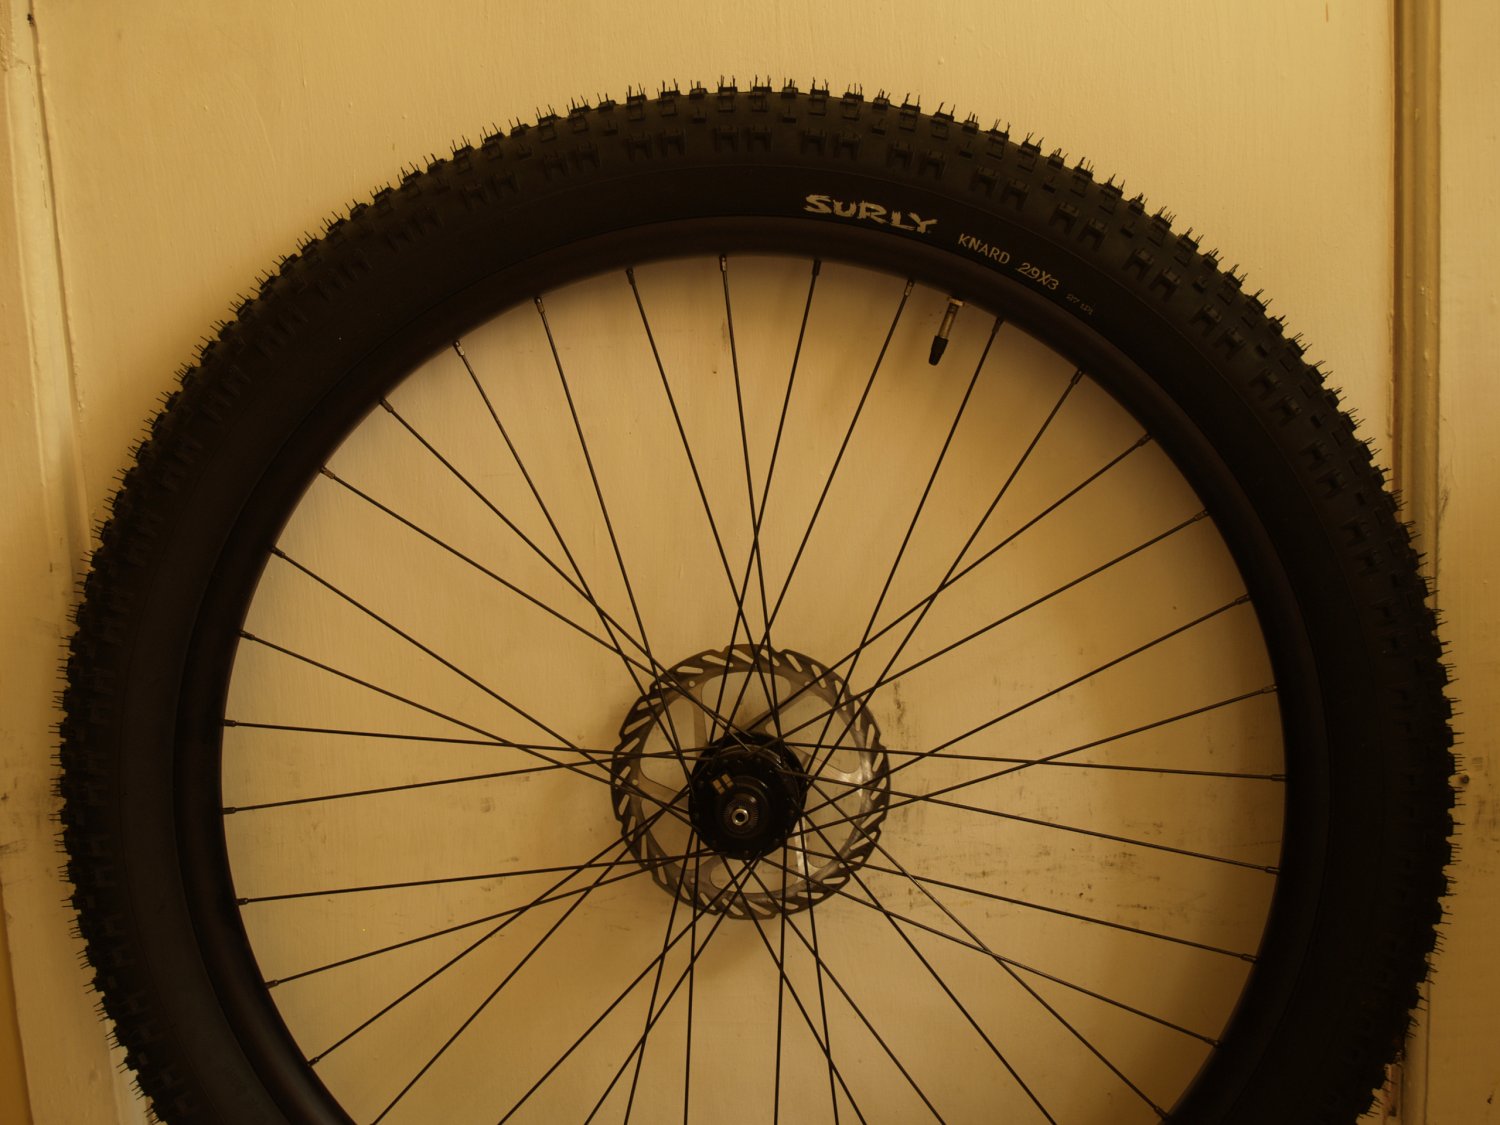
For this example I will use a Surly ECR fork, Shutter Precision Dynohub front wheel, Jeff Jones Hbar Loop handlebar and a Surly steel Nice Rack. For the sake of clarity I have described the route of the wiring from the power source to each light, however some headlights are hard wired so you may need to begin at the headlight and run the wires back from there. In any case, the procedure is the same.
1. Starting at the hub I run my wiring through the small hole on the back of the ECR fork near the dropout and push it up to the opening by the fork crown. This eliminates the need to zip-tie any wires to the fork arm and keeps the wiring clean and dry.
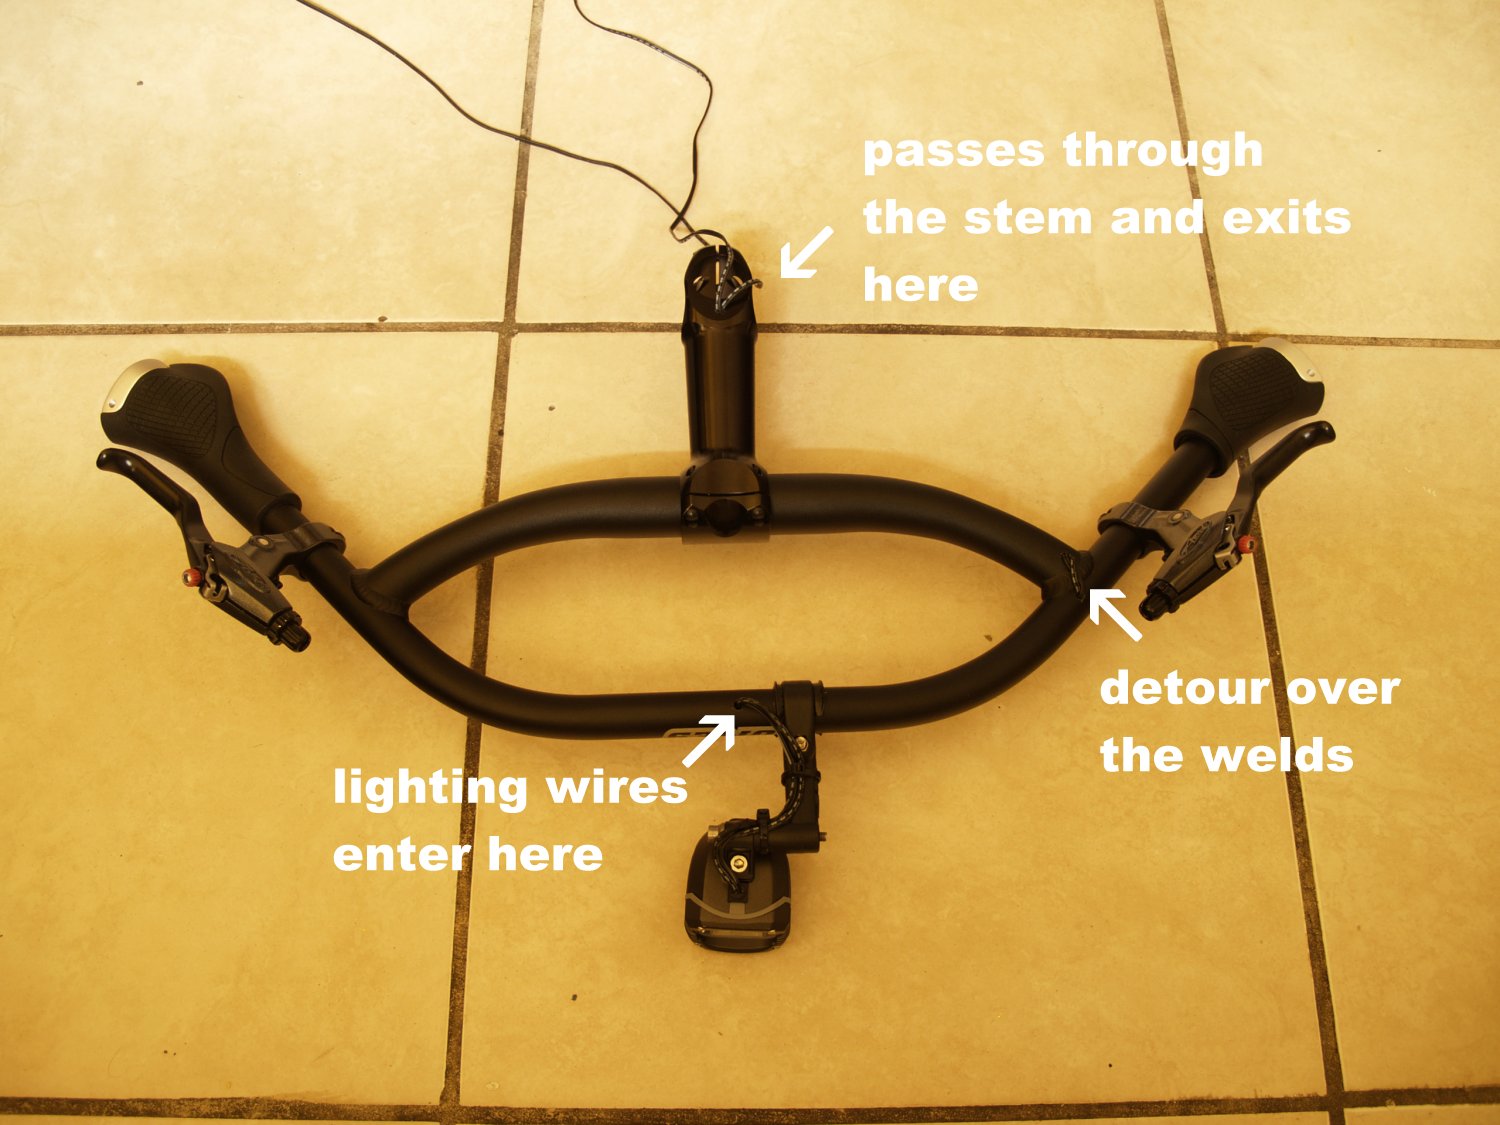
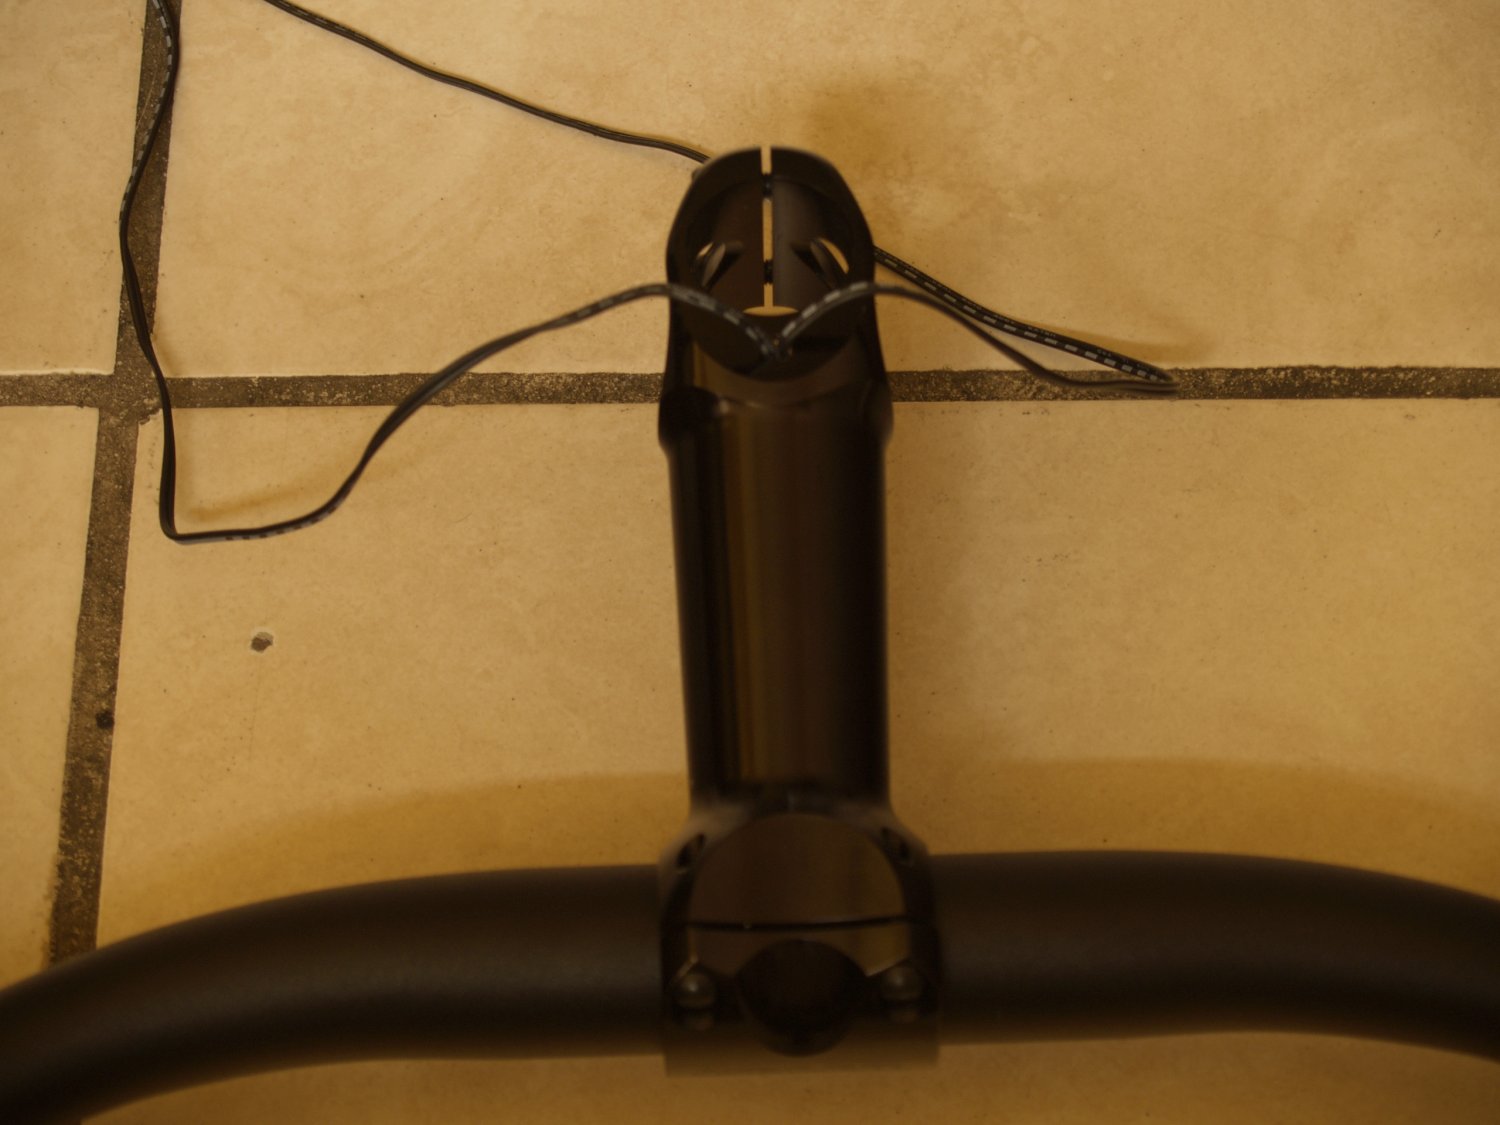
2. Next the wire is routed up along side of the head tube and inserted into a small hole which I’ve drilled in the bottom of my steering stem.
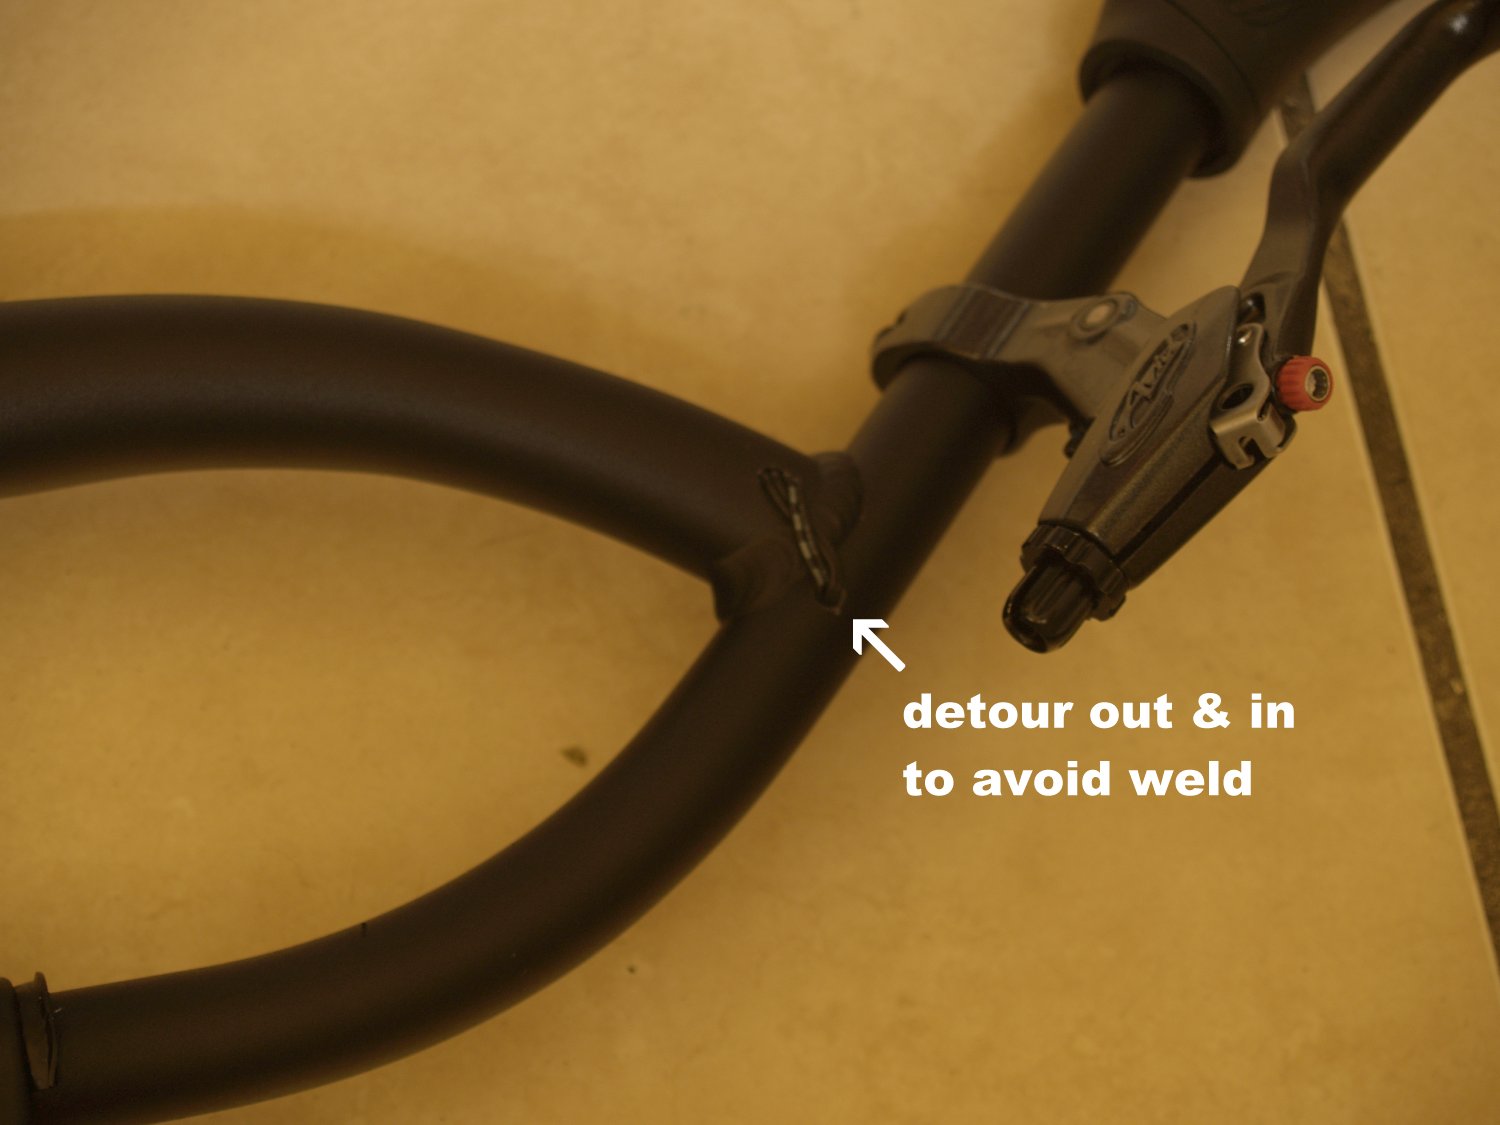
3. From there the wires (headlight & tail light wires) are routed through a hole in the Hbar and laced out & in again at the loop bar weld to finally exit at the bottom of the front loop right beside the headlight mount.
4. The tail light wire exit’s the steering stem and is routed along the bottom of the top tube next to the disc brake cable to the front of the Surly Nice Rack.
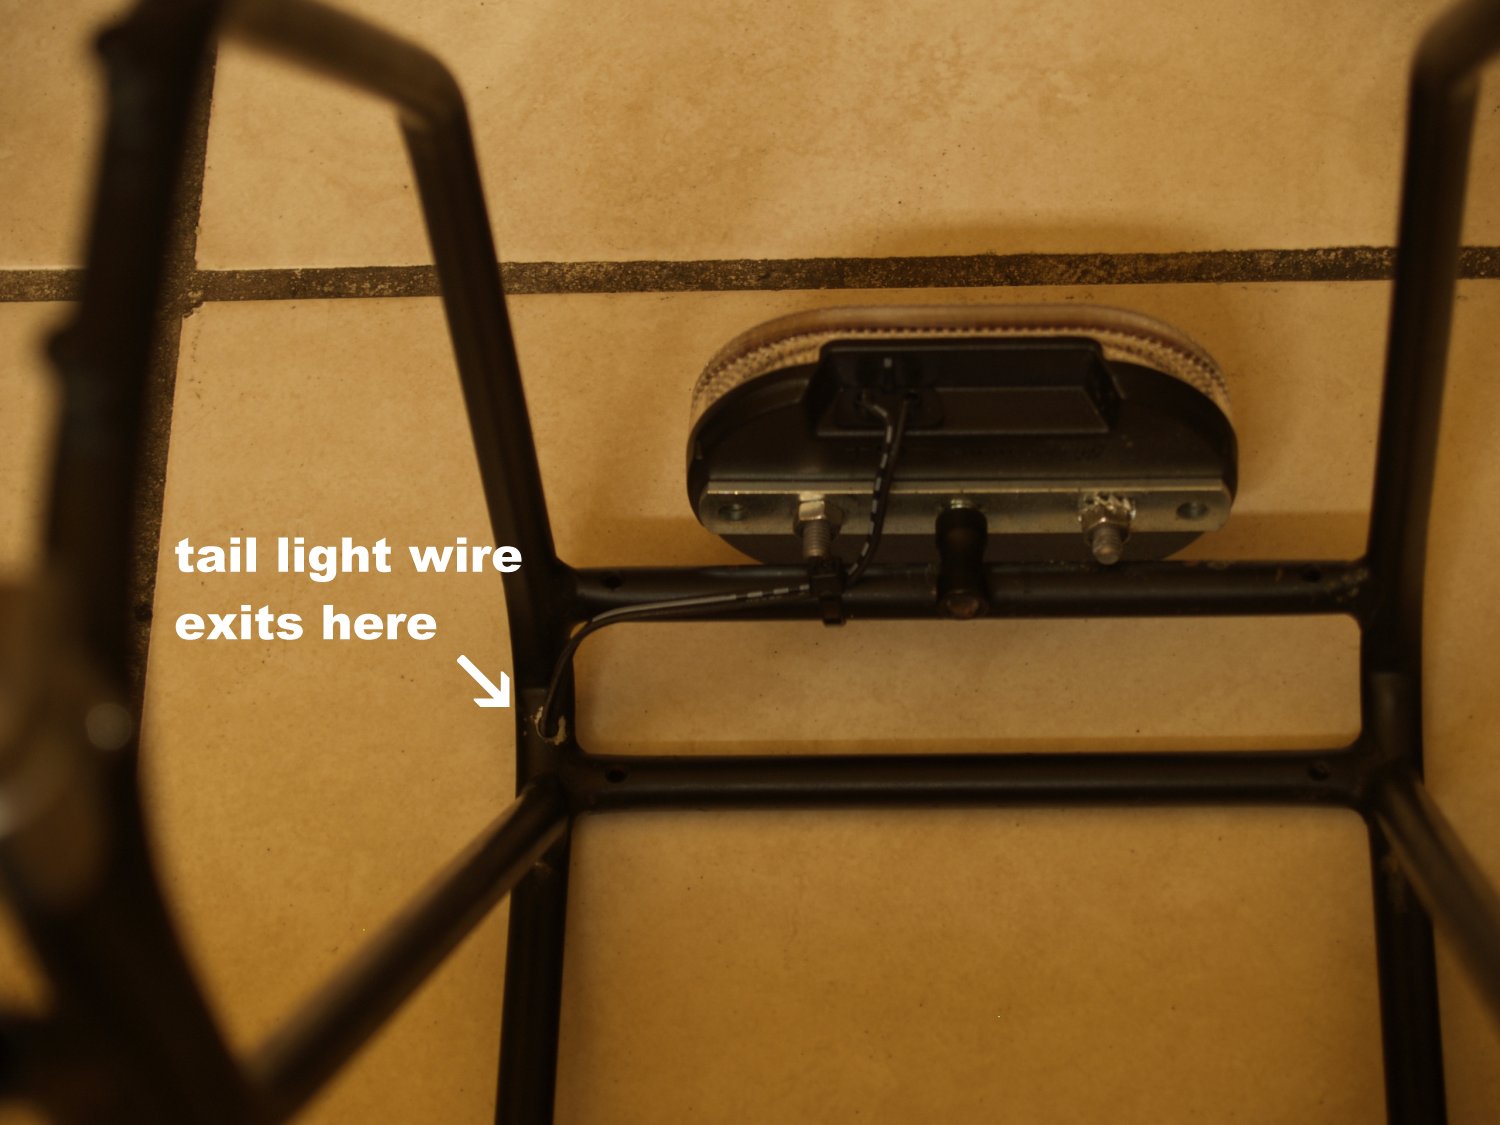
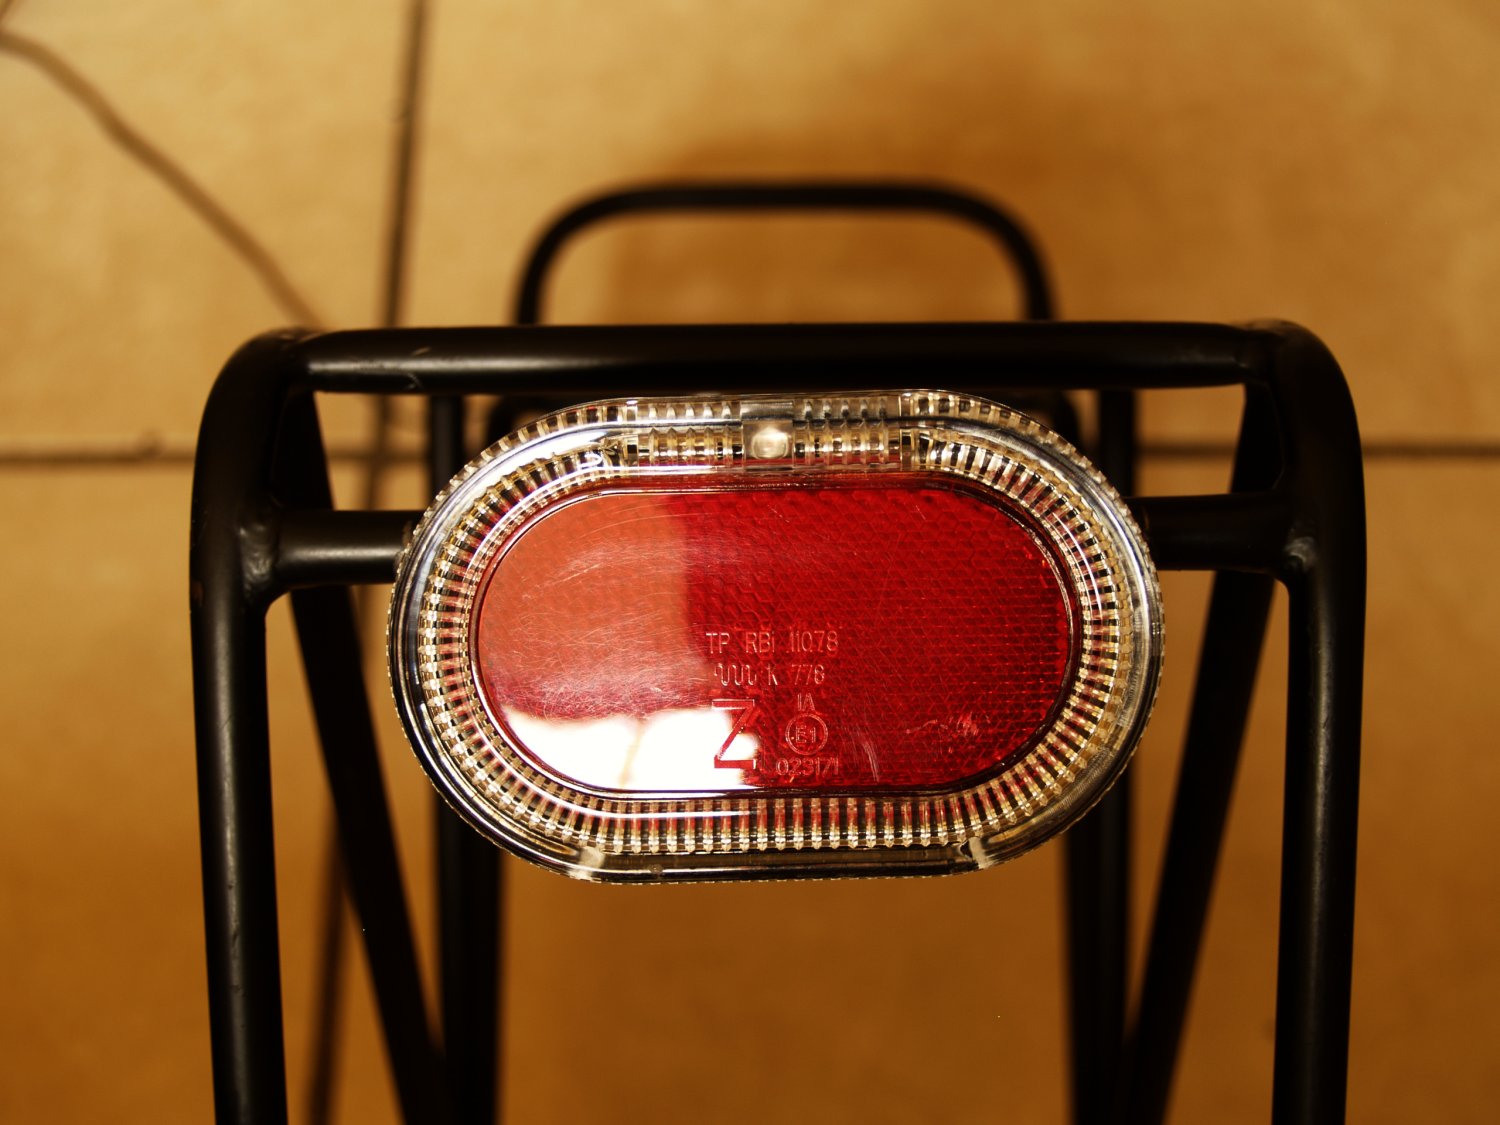
5. This bike build is fitted with S&S couplers for splitting the frame in half during shipping so, the electrical wires get couplers in this area as well. I have installed Supernova gold plated connectors just before the wire enters the rack tubing. A small hole is drilled in the bottom side of the uppermost steel rack tube so the wiring can be completely protected from pannier scuff. The wire exits just to the left of the tail light and is plugged in.
Below are some close-up photos of the finished project off the bike.